
If you look forward all year to a skiing trip, it’s only natural that you want to capture the fun and excitement of your escapades on camera. An action camera like a GoPro, whether it’s the latest GoPro Hero13 Black, the GoPro Hero12 Black, the tiny GoPro Hero, or an older model, is perfect for capturing video footage of skiing. They can also produce some decent stills, so you don’t need to worry about carrying a larger camera or using your phone in harsh conditions. However, it’s essential to get the right GoPro mounts, settings and accessories ready before you hit the slopes.
Let’s explore some top tips for filming your skiing adventures with a GoPro, helping you capture dynamic and smooth footage with impact.
The GoPro Hero13 Black is GoPro’s most recent flagship camera and while it doesn’t differ hugely in specification from the last couple of models, it has some nice additional physical features. These include compatibility with a small range of lens mods that are automatically detected, the ability to work with a new magnetic clip system and magnetic power connectivity. The GoPro Hero12 Black and Hero are also excellent choices for skiing, thanks to their waterproof build and advanced stabilisation features. In fact, the GoPro Hero13/12/11/10/9/8/7/6/5 Black, Hero11 Black Mini, Hero7 Silver/White, Hero (2018), Hero5 Session, Hero4 Session and Hero Session are all waterproof down to 10m without a housing, so they can be used with confidence in snow.
GoPro’s Horizon Leveling or Horizon Lock features are especially useful for skiing as they keep the world nicely levelled as you zip along. These features first appeared in the GoPro Hero9 Black.
GoPro’s HyperSmooth stabilisation technology, which was introduced with the GoPro Hero7 Black and now is on version 6 in the GoPro Hero12 Black and Hero13 Black, is also a huge bonus that makes footage much more stable and less nauseating to watch. It has improved with each version and makes a massive difference to the footage you get when you are whizzing down a slope.

There’s a huge range of mounts available for GoPro cameras, with offerings coming from third-party manufacturers as well as GoPro. Here are some that are worth considering:
A chest mount (GoPro’s is called the Chesty) is a type of harness that you wear on your body so you can mount the camera on your chest. It’s a nice, stable option that’s great for capturing footage from directly in front of you as you ski. The downside is that you have to turn your whole body to see a side view. If you wear a backpack when you’re skiing, I recommend putting the chest mount on first so you can whip the backpack off quickly at chairlifts.
Keeps your hands free to use your ski poles
It’s easy to see the camera settings and check the footage
Quick and easy to use
Forward-view only
Restricts the zip on your jacket
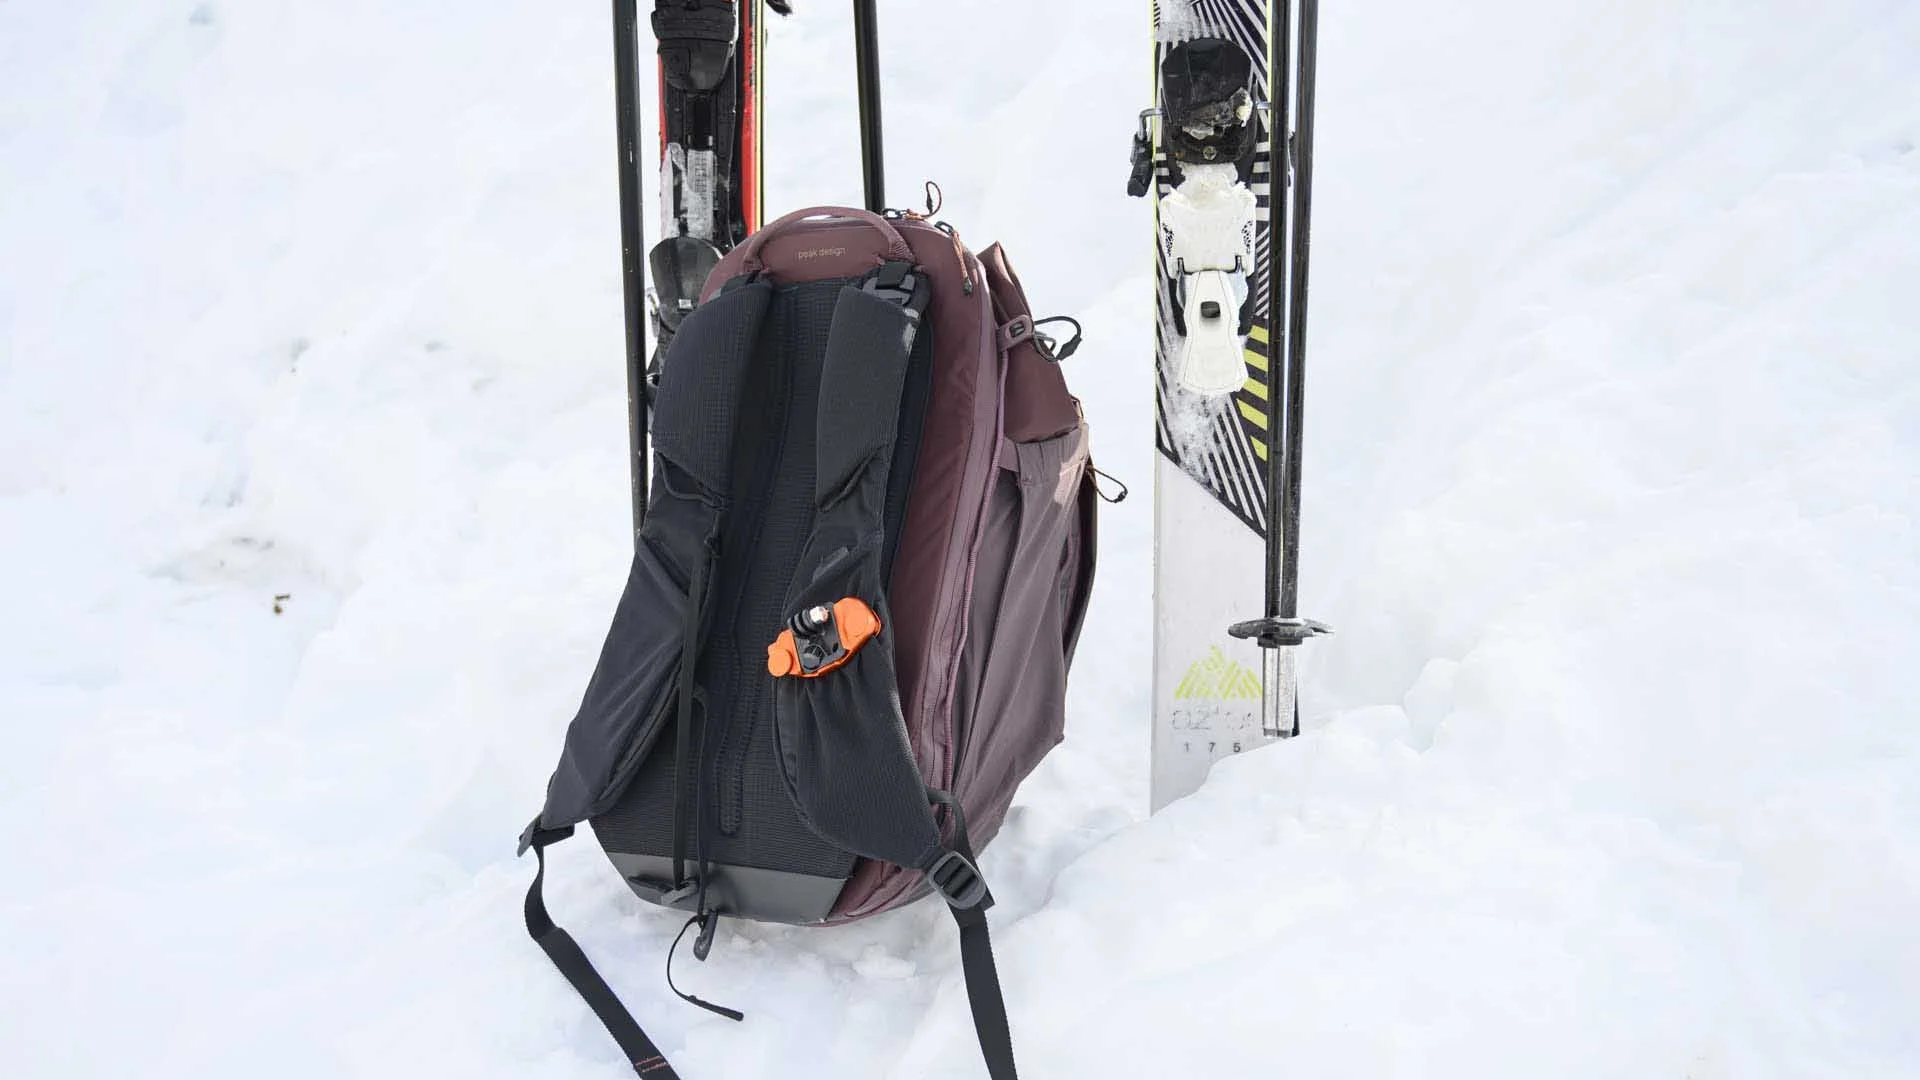
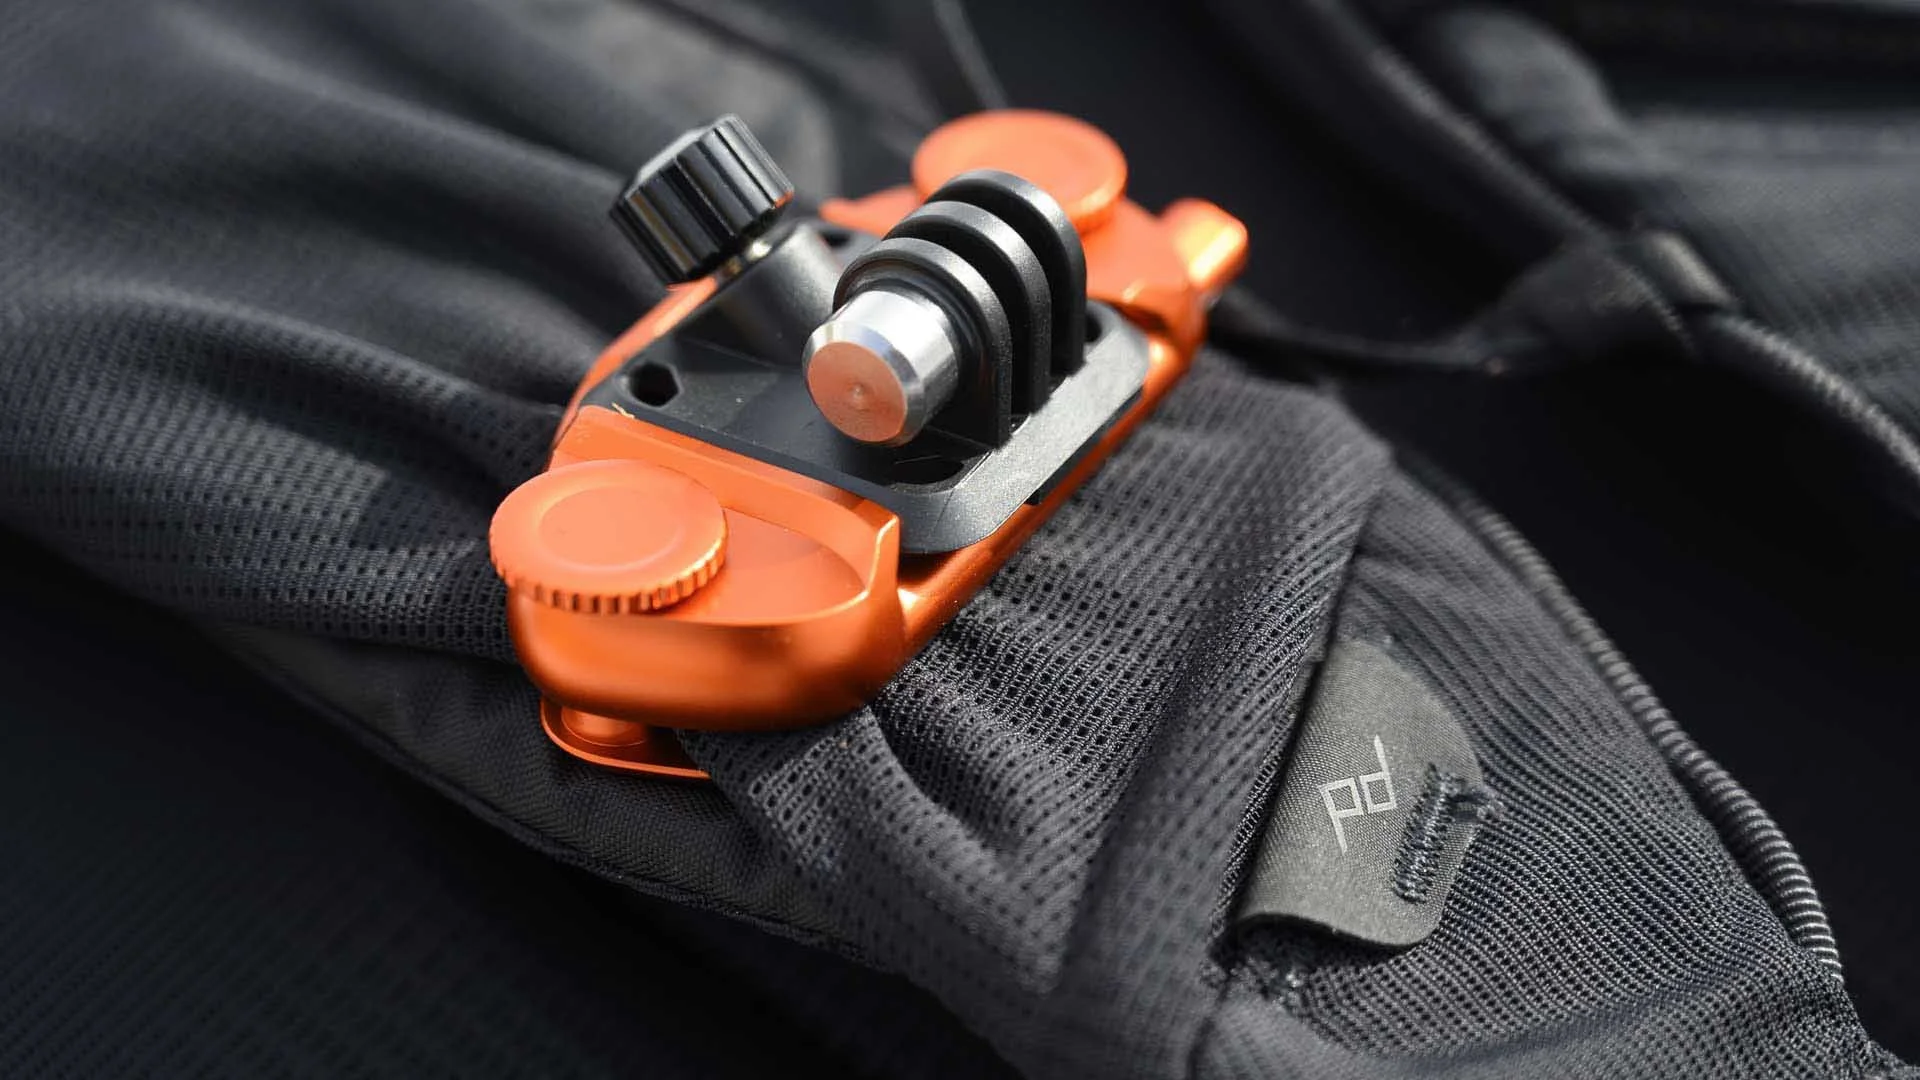
Peak Design’s Capture is designed for carrying a camera between shots, but with the addition of Peak Design’s POV Kit, it transforms into a GoPro mount. It attaches to a backpack shoulder strap to give you a forward-facing view. The GoPro clips securely into place, and you can tip it up or down to get the angle you want. Pointing it down gives you a great view of your skis in action, which makes nice b-roll for your video.
It’s a versatile carry system
It’s easy to see the camera settings and check the footage
Keeps your hands free
Adds bulk to your backpack strap and may require extra care when getting on and off chair lifts
Only allows up and downwards angling of the camera
May tilt to the side depending on how your backpack fits
A wrist mount is a versatile option that keeps your GoPro on your wrist without you having to hold it. It means you can film in different directions just by moving your arm. The downside of a wrist mount is that it needs to fit over your ski glove, so you can’t pull off your glove as quickly as you might be used to.
It’s easy to point the camera towards the action
It’s easy to see the camera settings and check the footage
Quick and easy to use
May be a tight fit over a ski glove
Can limit the use of your ski poles
Helmet mounts are flat or curved sticky pads that attach easily to a ski helmet. They are great for providing a first-person view, but remember that your head’s movements, scanning the terrain and looking around, can result in a lot of changes of view in your footage.
For smoother shots, consider mounting the camera on the top or side of your helmet and use GoPro’s HyperSmooth stabilisation to take out the bounce and shake. It can’t help with major movements, such as when you look left or right, but you should get lots of short clips that add up to make great footage.
Keeps your hands free
It’s easy to point the camera towards the action
A simple mounting solution
You can’t see the settings or what the camera is recording
You probably move your head more than you think
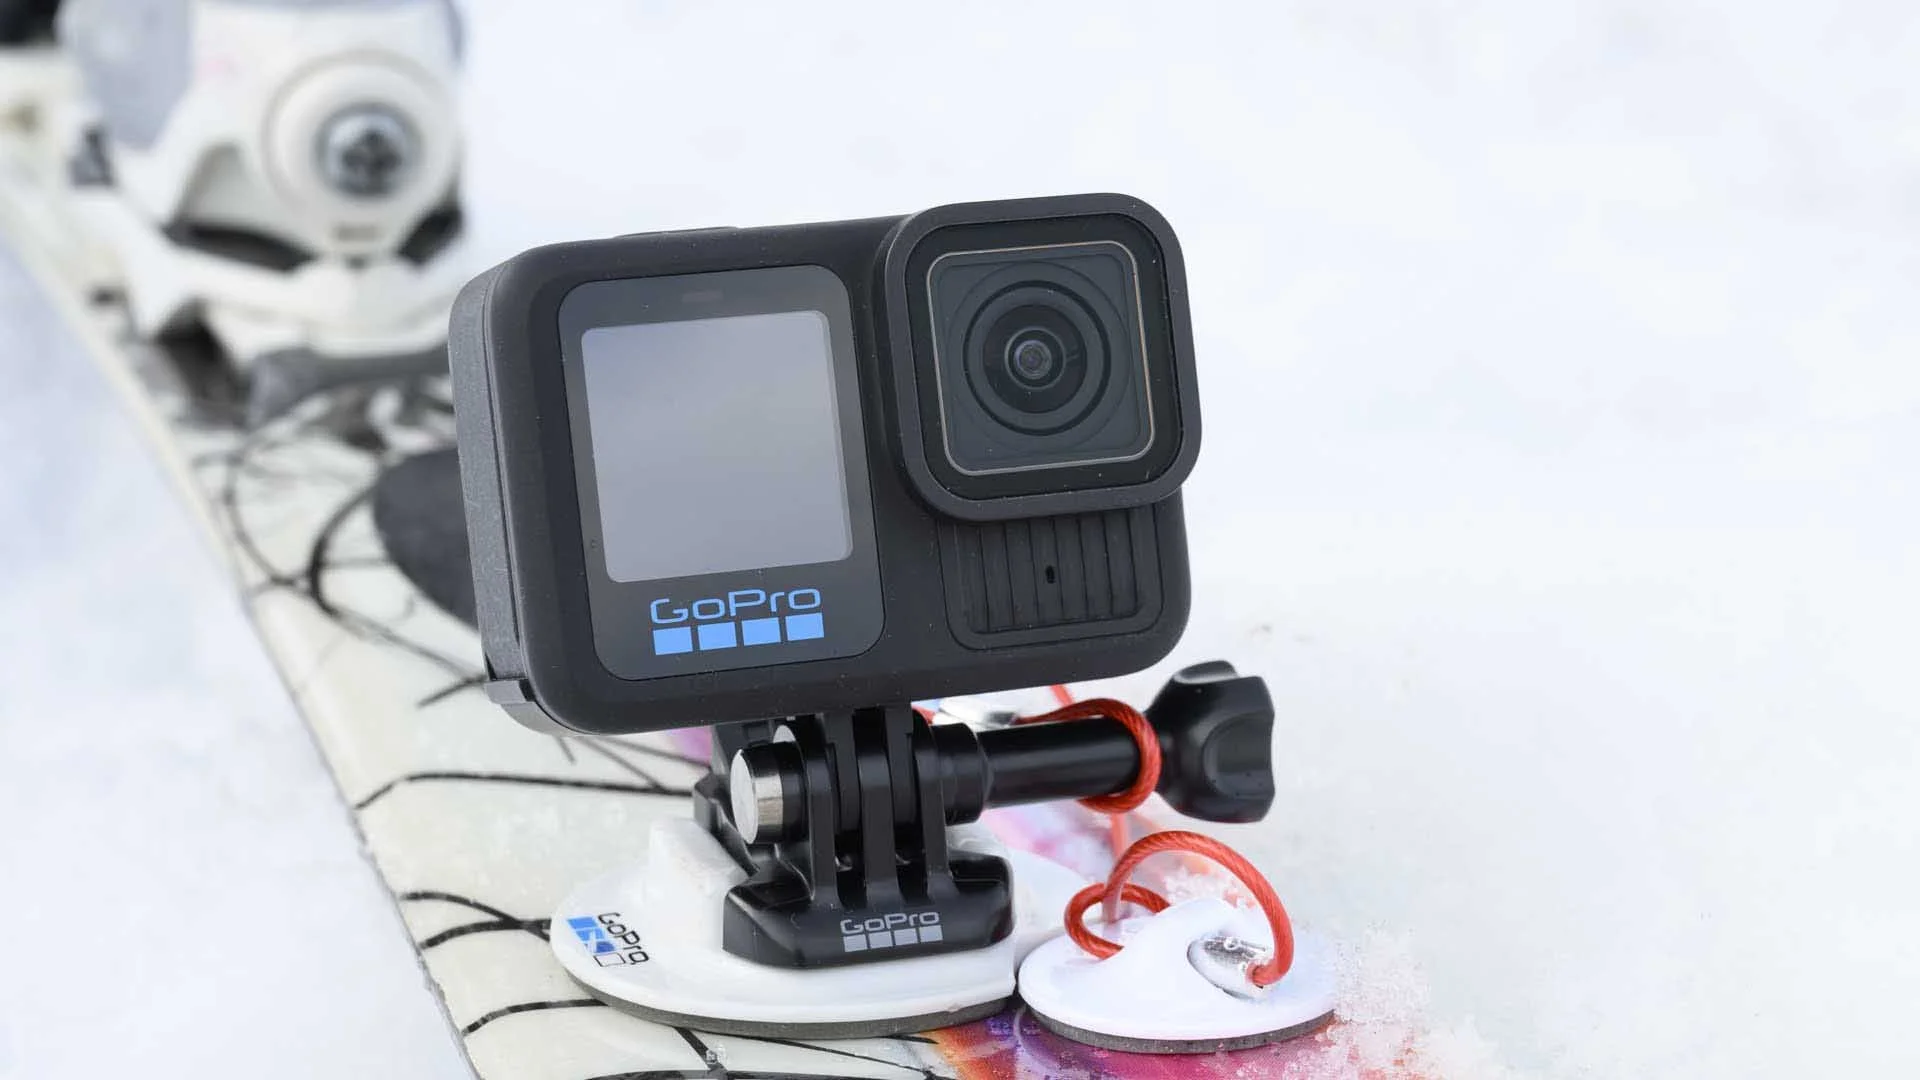
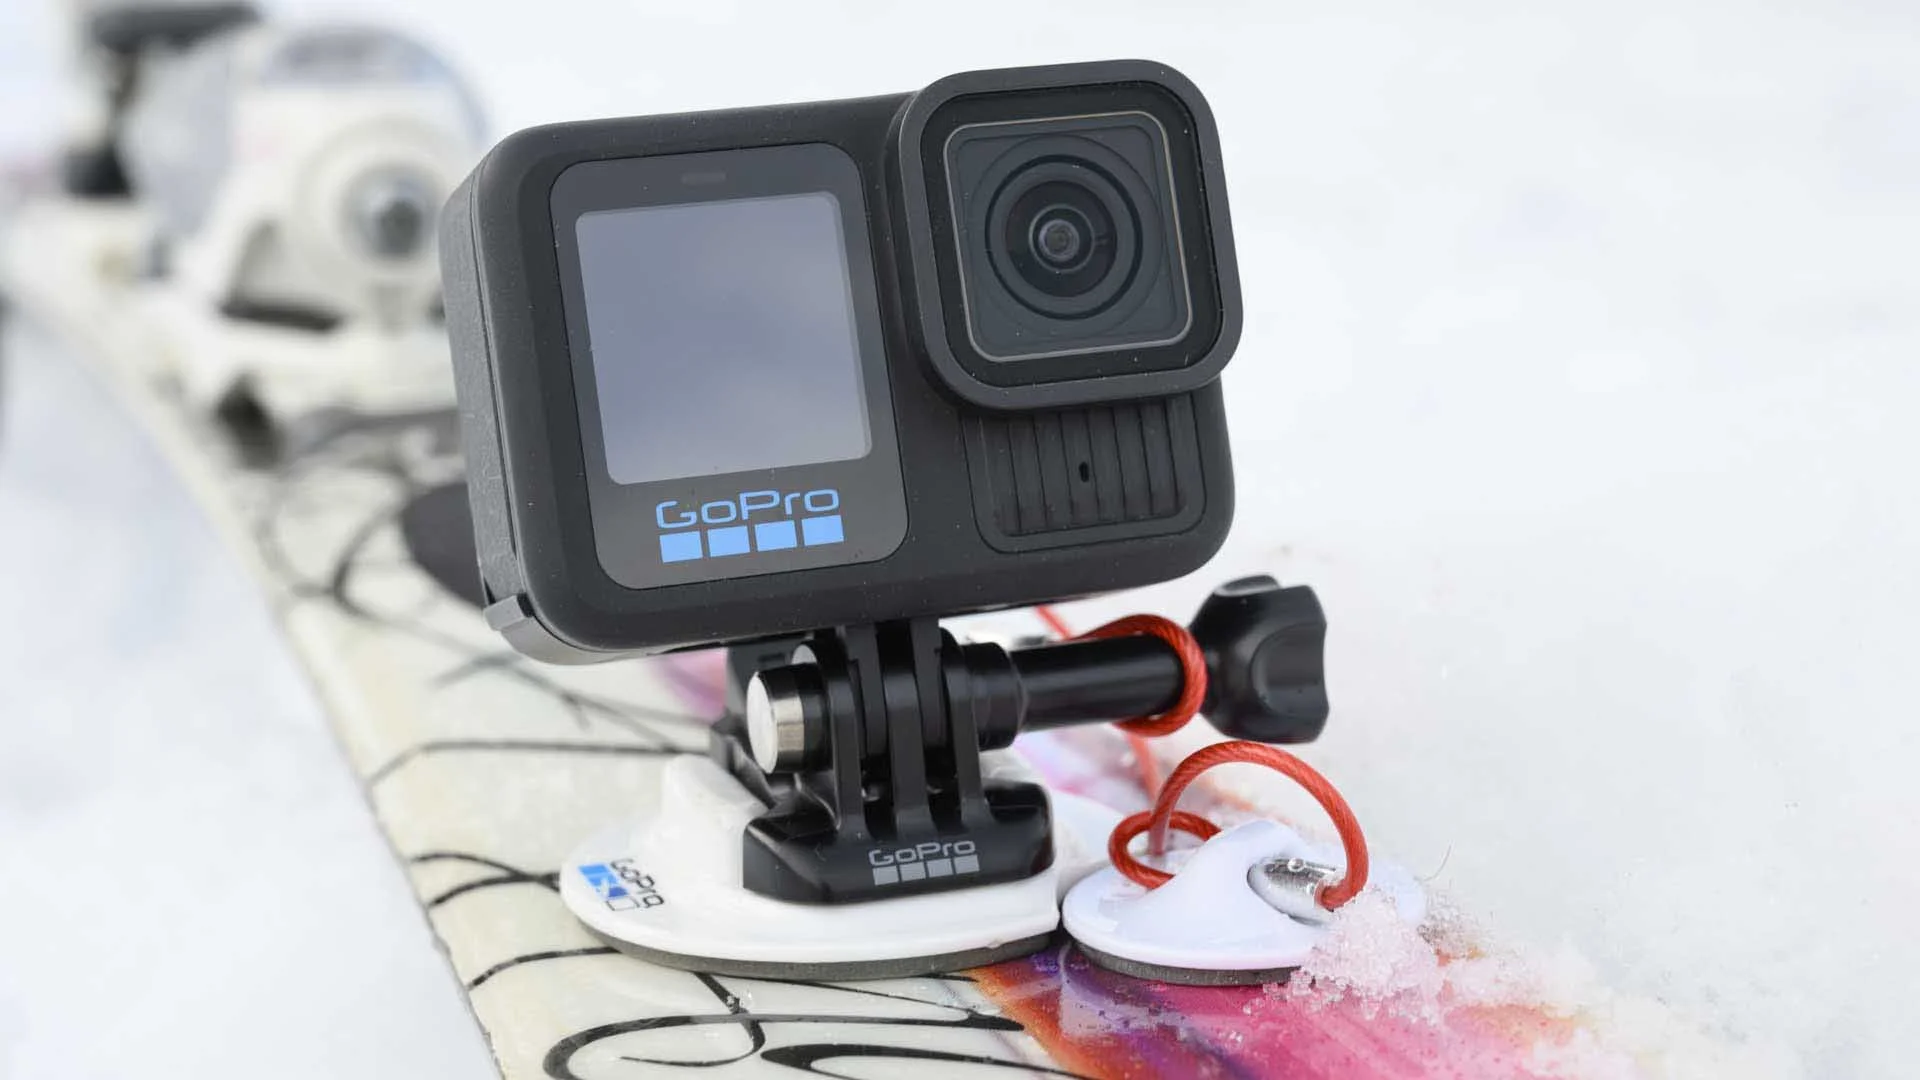
Surfboard mounts can also be used on skis or snowboards for dramatic low-level shots. For best results, attach the mount indoors at room temperature and allow the adhesive pad to bond fully before heading out. I’ve had mixed success with these mounts. While I’ve captured some terrific footage with the cameras facing backwards, forwards and to either side, the mounts’ adhesion is variable. I have one mount that’s has been on one of my skis for years, but others have come away after a few days or even just hours of use. This makes a tether essential. GoPro sells its Surfboard Camera Mount with a small sticky pad with a loop to attach a short tether. Use these to save your camera if the mount comes unstuck. However, their adhesion is as temperamental as that of the mounts themselves. GoPro doesn’t supply a tether with the mount, you’ll need to buy or make that separately.
Keeps your hands free
Gives an exciting perspective
Can face forwards or backwards
Mount and tether adhesion can be problematic
The camera is easily knocked
Stabilisation is essential
A pole mount such as the GoPro Handlebar / Seatpost / Pole Mount, GoPro 3-Way or a simple grip mount is perfect for capturing unique angles whether filming yourself or other skiers. These mounts are versatile, allowing you to shoot from in front, behind or alongside your subject.
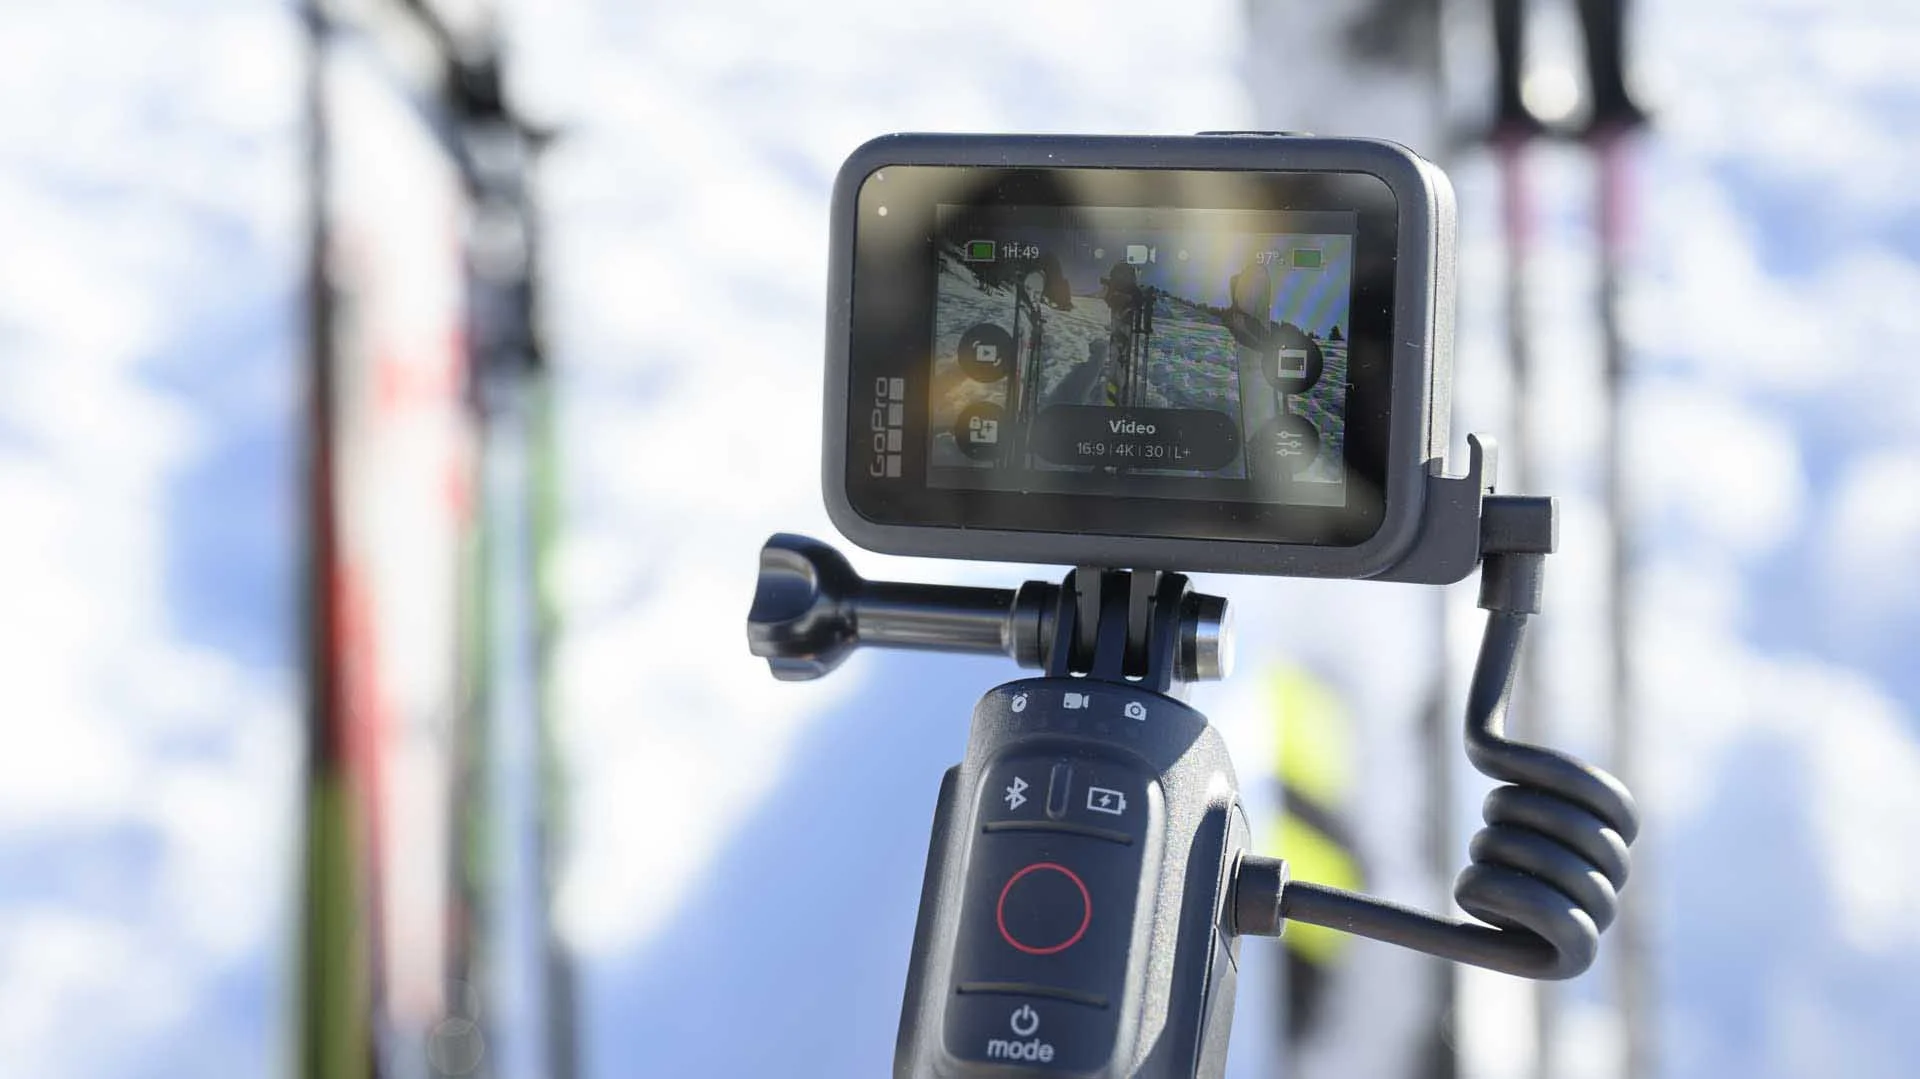
GoPro’s Volta battery grip isn’t as long as a telescopic or folding pole, but it’s comfortable to hold, powers your camera and has a record button along with a few other simple controls. The Volta is compatible with a range of GoPros going back to the Hero9 Black, but it doesn’t offer its full functionality with all models.
While a small gimbal used to be high on the list of essential accessories for anyone wanting to produce smooth footage when moving, the latest HyperSmooth technology consigns them to history for GoPros.
It’s easy to point the camera towards the action
The camera settings and framing are usually visible
A simple solution that you can hand to your friends to film you
You may not be able to use your ski poles for skiing
The camera is easily knocked if it’s on a ski pole
The GoPro Handlebar / Seatpost / Pole Mount offers a limited range of angles unless you add additional joints such as a 3-way pivot arm.
While a helmet, chest and wrist mount are convenient choices for filming your skiing, relying solely on one mount and one angle can lead to monotonous videos. Lots of POV (point of view) footage that simply shows the scene in front of you as you fly down the mountain can also induce motion sickness for your viewers. You’ll produce more engaging videos that capture the thrill of skiing by diversifying your camera angles. For the best results, plan how you’re going to film a few runs. For example, if you plan to ski the same run three times, you can film each decent differently and then cut between the three clips to create one dynamic, engaging video.
If you don’t want to shoot the same run multiple times, try to shoot several runs in similar lighting conditions to ensure seamless transitions in your edits.
As well as the front and side views, it’s good to get a few low shots of the snow whizzing by and your skis or boots tipping and throwing up snow as you turn. A ski mount is perfect for this, but a pole mount works very well too and is more versatile. I like to spin a pole-mounted GoPro around me to get 180-or-more-degree footage.
A pole or grip mount is ideal for filming other skiers, but because of the wide-angle view of GoPro cameras, you need to get close to your subject. Other skiers often underestimate how close you need to be and they may zip ahead of you at full speed in an attempt to impress. It can be hard to keep up when you have the camera to think about as well as your skiing, and as a result, they can look very small in the frame.
I find that starting by skiing in front of them and filming them behind me gets the speed message across – as well as capturing some nice footage. It’s also worth skiing alongside them, swapping sides occasionally, to get some interesting action shots. If you mix clips from these angles with some from behind, you’ll get a memorable action video.
As a rule, you’ll want to shoot your videos at high resolution for maximum detail, but even the latest Hero13 Black maxes out at 60p at its highest resolution, so you may want to drop down to 4K to capture video at 120p, or even 2.7K to get 240p capability. The higher the frame rate, the greater the scope for slowing down the footage to create slow-motion videos. Filming at 60p lets you slow the playback by half, while filming at 120p means you can reduce the speed to one-quarter, making fast turns, spraying snow or jumps look super-cool and dynamic. However, remember that higher frame rates can impact video quality and revert to 60p for general skiing.
Another way to inject some impact into your skiing video is to capture an entire ski run in time-lapse mode for a fast-paced overview. You can also use slow-motion settings to emphasise key moments like jumps or sharp turns.
It’s worth experimenting with different Field of View (FOV) or Lens settings for different shots. Linear is a good choice because it irons out the distortion caused by using such a wide lens, but sometimes, you might want the exaggerated perspective of the wide setting.
Also, turn on HyperSmooth and set it to its highest setting to take out as many bumps and shakes as possible. I like to use Horizon Leveling or Horizon Lock as well to keep everything level. Horizon Leveling and Horizon Lock do the same job, but Leveling only works up to a certain point, whereas Horizon Lock always keeps the horizon level even when the camera moves through 360 degrees.
Generally, recent GoPros handle sunny, bright ski days very well. However, they can produce rather dark, gloomy footage on overcast days, so you may need to boost the exposure compensation a little using the Protune controls.
Similarly, the Auto white balance setting is often fine, but consider using a specific setting for the lighting conditions. Meanwhile, the Natural colour setting makes a good choice.
This 4K video was recorded on the GoPro Hero13 Black on a variety of mounts, and edited using the GoPro Quik App on a smartphone. The edit was almost fully automatic.
You can use any video-editing software to edit your GoPro footage, but GoPro’s Quik smartphone app is great when you want to create something while you’re away from home. The clips transfer quickly to your phone, and the automatic editing system is capable of producing excellent results, picking out key moments in your footage and matching the cuts to the beat of your selected music. If you’re not 100% happy with the edit, there are simple tools to help you get it right.
If you have the new GoPro Contacto Magnetic Door and Power Cable Kit to supply continuous power to the Hero13 Black, or the Volta for GoPros since the Hero9 Black, you are probably safe to just stick with one battery. However, in the absence of those, it is a good idea to have a couple of spare batteries as cold weather drains battery life quickly. Keep your spare batteries in an inner pocket to keep them warm.
Here are a few extras that can come in handy when you want to shoot from different angles or in case you need a replacement part:
Extra short and long thumbscrews,
Additional Curved and Flat Adhesive Mounts,
Extra mounting buckles,
3-Way pivot arm
Magnetic Latch Mount or Magnetic Latch Ball Joint Mount for the Hero13 Black