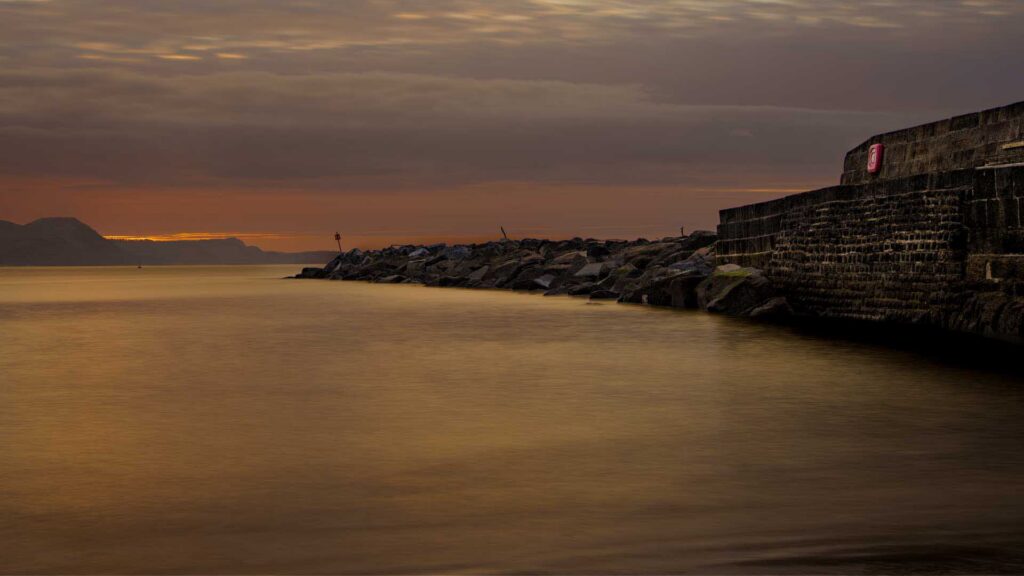
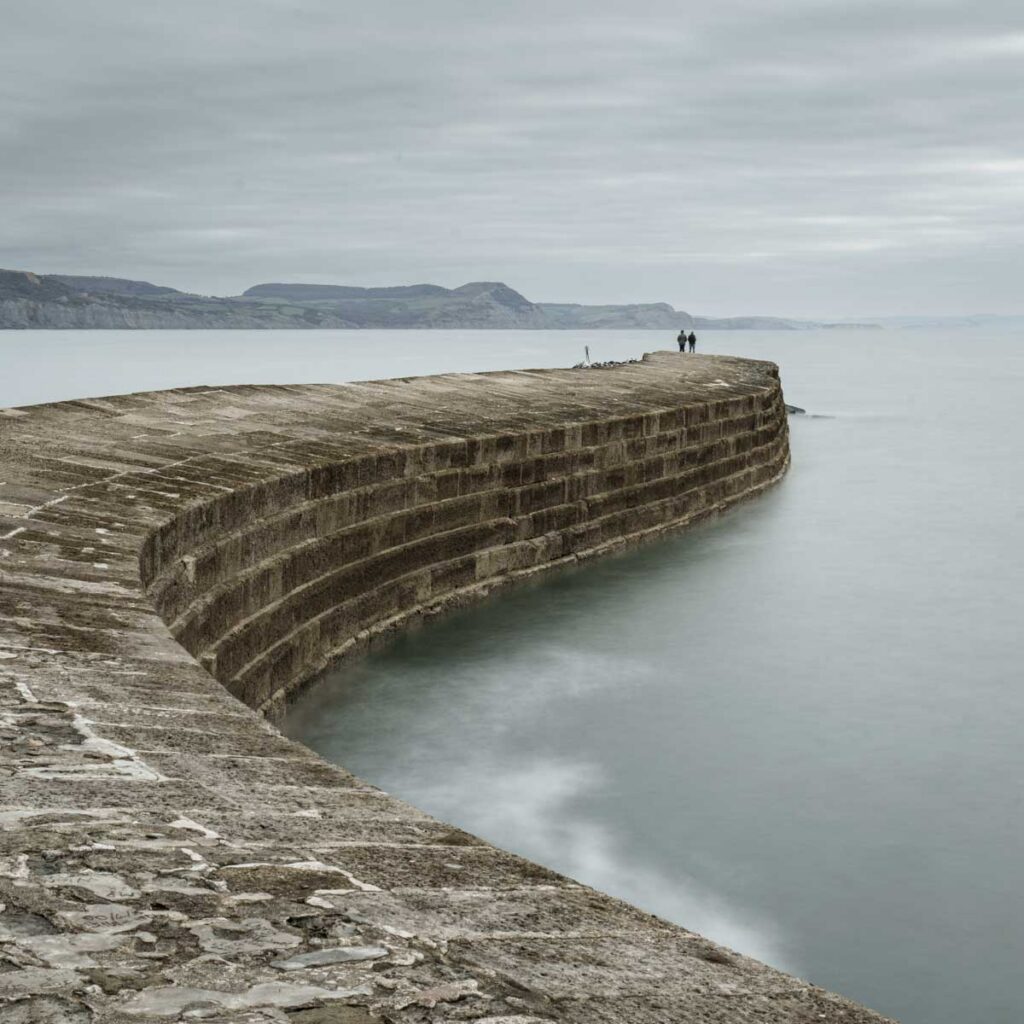
A long exposure can transform a busy scene into something calm and simple. Water becomes smooth and mist-like, clouds stretch across the sky and even moving objects, such as people, can disappear from view or become unrecognisable. It is a popular technique, but if you have ever tried it in daylight, you will know how difficult it is to achieve a slow enough shutter speed.
Even at a low ISO and a small aperture, bright conditions make long exposures tricky. This is where neutral density (ND) filters come in. They reduce the amount of light entering the lens, so you can extend your exposure time by slowing the shutter speed, even in full daylight.
An ND filter works without affecting colour, and it gives you more creative control over how moving elements appear in your image.
ND filters are available in different strengths, often measured in stops. Each stop halves the amount of light entering the lens, which allows you to gradually extend your exposure time (slow your shutter speed).
A 1-stop (ND2) filter allows you to reduce your shutter speed by one stop, taking a 1/250 second shutter speed, for example, down to 1/125 second. However, a 6-stop (ND64) filter enables you to use a shutter speed of around 1/4 second, while a 10-stop (ND1000) filter reduces the required shutter speed to around 4 seconds. Similarly, a 1/60-second exposure without a filter becomes a 17-second exposure with a 10-stop filter. The longer the exposure time, the more blurred any movement will appear in the image.
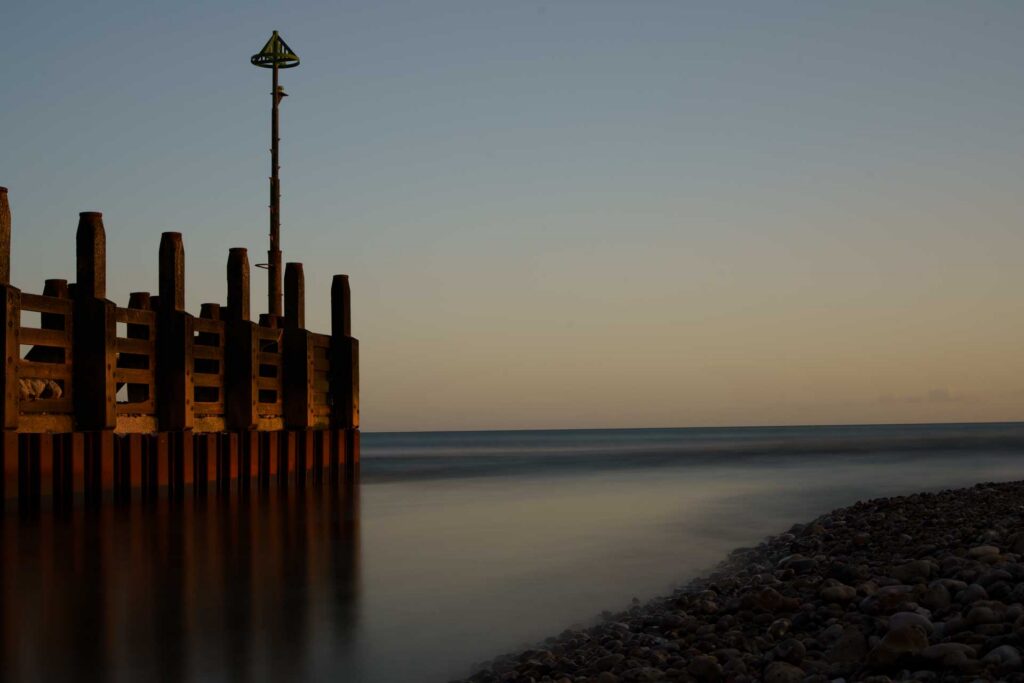
A 6-stop or 10-stop filter is a good starting point if you want to create long exposure images in daylight. Stronger filters allow you to extend your exposure from fractions of a second to several seconds or more, which is what creates that smooth, flowing look.
Incidentally, a 10-stop filter is often called a ‘Big Stopper’ because that’s what Lee Filters calls its popular 10-stop filter.
Read our Urth ND Filter Review
With stronger filters, it is often easier to set up your shot before attaching the filter. Compose your image and focus on your subject first using autofocus, then switch to manual focus to prevent the camera from trying to refocus once the filter is in place.
If you are using a mirrorless camera, you can take advantage of live exposure preview. After attaching the filter, adjust your shutter speed while looking at the viewfinder or rear screen until the exposure looks right. This removes the need to calculate exposure times in advance and makes the process more intuitive.
If you are using a DSLR, you may prefer to take a reading before attaching the filter and then adjust from there. By default, most cameras are set to adjust shutter speed in 1/3-stop steps. That means you need to adjust the exposure by three steps for every stop of light that your filter cuts.
When your exposure time goes beyond 30 seconds, you may need to use Bulb mode, some cameras also have a Time mode. In Bulb mode, the shutter stays open for as long as the shutter button is pressed. In Time mode, pressing the shutter button starts the exposure and pressing it a second time ends the exposure.
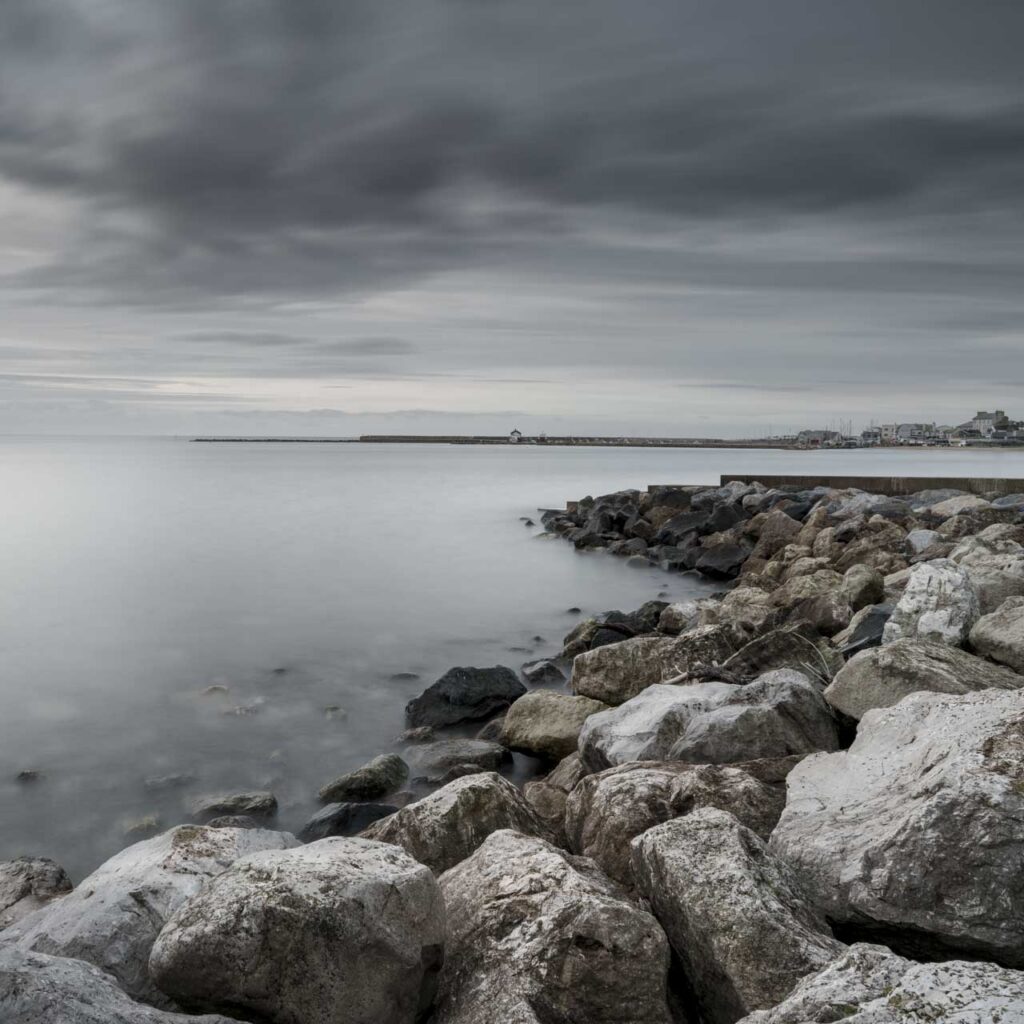
A tripod is essential to keep the camera steady, and a remote release helps you avoid introducing camera shake when pressing the shutter button. This is part of the reason why I generally make 30 seconds my maximum exposure time, it is usually more than enough time to blur water movement, but you will likely need longer for cloud movement.
The speed of movement within the scene and the degree of blur that you want will determine how long your exposure should be. In some cases, 1/15 second can produce strong results, but in others, you may want exposures of several seconds or even minutes.
Read Our Peak Design Pro Tripod Review
Read Our Peak Design Travel Tripod Review
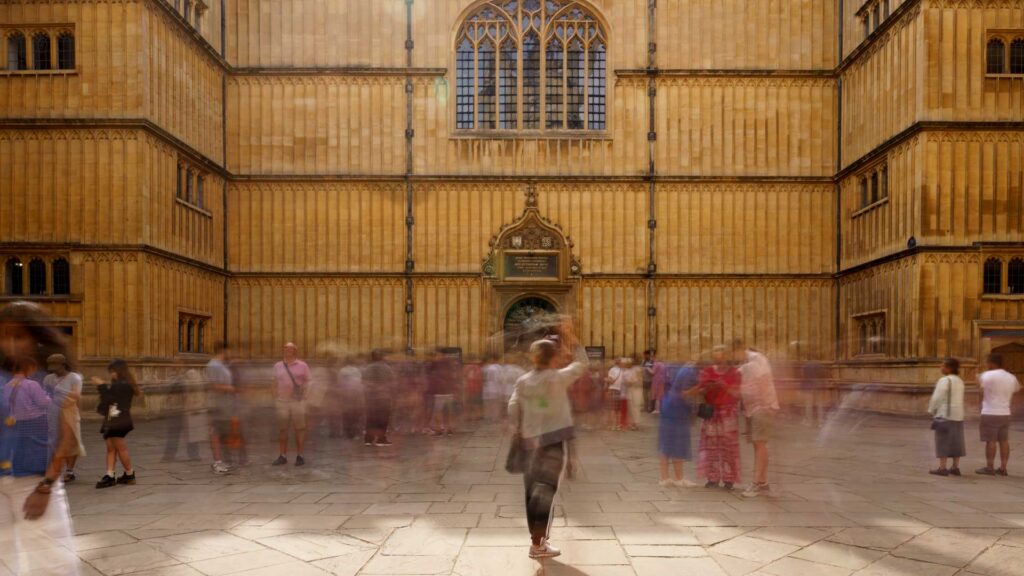
Another useful effect of long-exposure photography is the ability to remove moving objects such as people from busy scenes. In a crowded location, people are constantly moving through the frame. If you capture a photograph with a fast shutter speed, they are clearly visible.
With a longer exposure, those same people do not stay in one place long enough to be recorded clearly. Instead, they blur into faint shapes or disappear completely if they keep moving. This makes long exposure photography a good choice for tourist hotspots. It works best when people are moving steadily. If someone pauses or stands still, they may still appear in the final image.
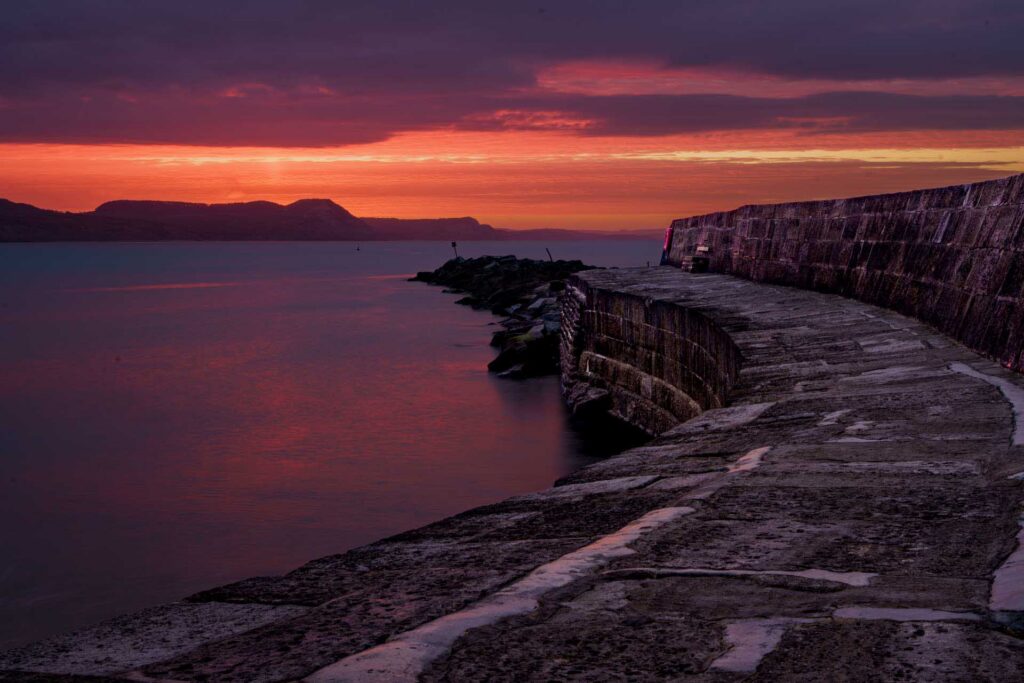
Take time to observe the movement in your scene. Water, clouds and people all create different effects depending on the length of the exposure.
A small adjustment to shutter speed can make a big difference to the final result.
Check your image’s histogram on your camera screen or in the viewfinder of a mirrorless camera to confirm you have the correct exposure, especially in bright conditions where the screen can be misleading. If you want to increase the amount of blur, you can reduce the size of the aperture (use a larger f-number) by one stop to double the exposure time, use a denser ND filter, or use a lower ISO setting. Do the reverse to decrease the amount of blur.
Long exposure photography is a slower way of working, but that’s part of its appeal. With a tripod, an ND filter and a bit of patience, you can create images that look very different from what you see with the naked eye.